
Today's tutorial is a celebration of the first Mug Rug Swap's successful end, and the beginning of Mug Rug Swap v.2 here at SewHappyGeek. If you'd like to get in on it, just visit the page!
This mug rug ended up being quite large - I'm not sure what I was thinking when I used EQ7 to design a mug rug that would be at least 12" wide, but once I got started it was too late to rethink and change...so here it is, a full 11" x 14" finished. Not quite a placemat, too big for a mug rug?
I worried and fretted about its size until Mr. and Little Savi Geek came in and gushed wildly about it. We tried to come up with a name for it - Mr. Geek came up with 'Smug Rug' which apparently means Supersized Mug Rug, so there it is. A Smug Rug...?
I thought a rainbow would be cool, and these fabrics were all I had on hand - I guess I had a lot of pinks but not much else...(not anymore, though!) Anyway, I've actually grown quite attached to my Smug Rug, so it may be hard to part with. I might just have to make another one to give away.

And here's the breakdown:

The measurements are for UNFINISHED sizes - they're what you need to cut:
Flying Geese:
- 6 rectangles 4.5" x 2.5"
- 12 squares 2.5" x 2.5"
Framing strips (mine are Moda black Marble):
- 2- 2.5" x 13"
- 2- 1.5" x 13"
- 2- 1.5" x 11"
Contrast Framing Strips (mine are white):
- 2- 1.5" x 13"
Binding: about 57-60"
Backing and Batting: 12" by 16"
N.B. Seam allowance throughout is 1/4"
Step 1: Make your Flying Geese.
Take your 2.5" x 2.5" squares and mark a line as shown below, or press them on the diagonal. Then pin onto the rectangle, right sides together (RST) with the line in the same direction as shown below. I also added chalk so you could see what I mean:

Stitch over that line, and trim the triangle that won't be seen:

Then press the triangle down, like in the orange one shown in the picture above.
Now take another square and sew it on the other side of the rectangle, RST, trimming the extra like you did before:

NOTE: You can easily chain stitch these to save time and faffing.
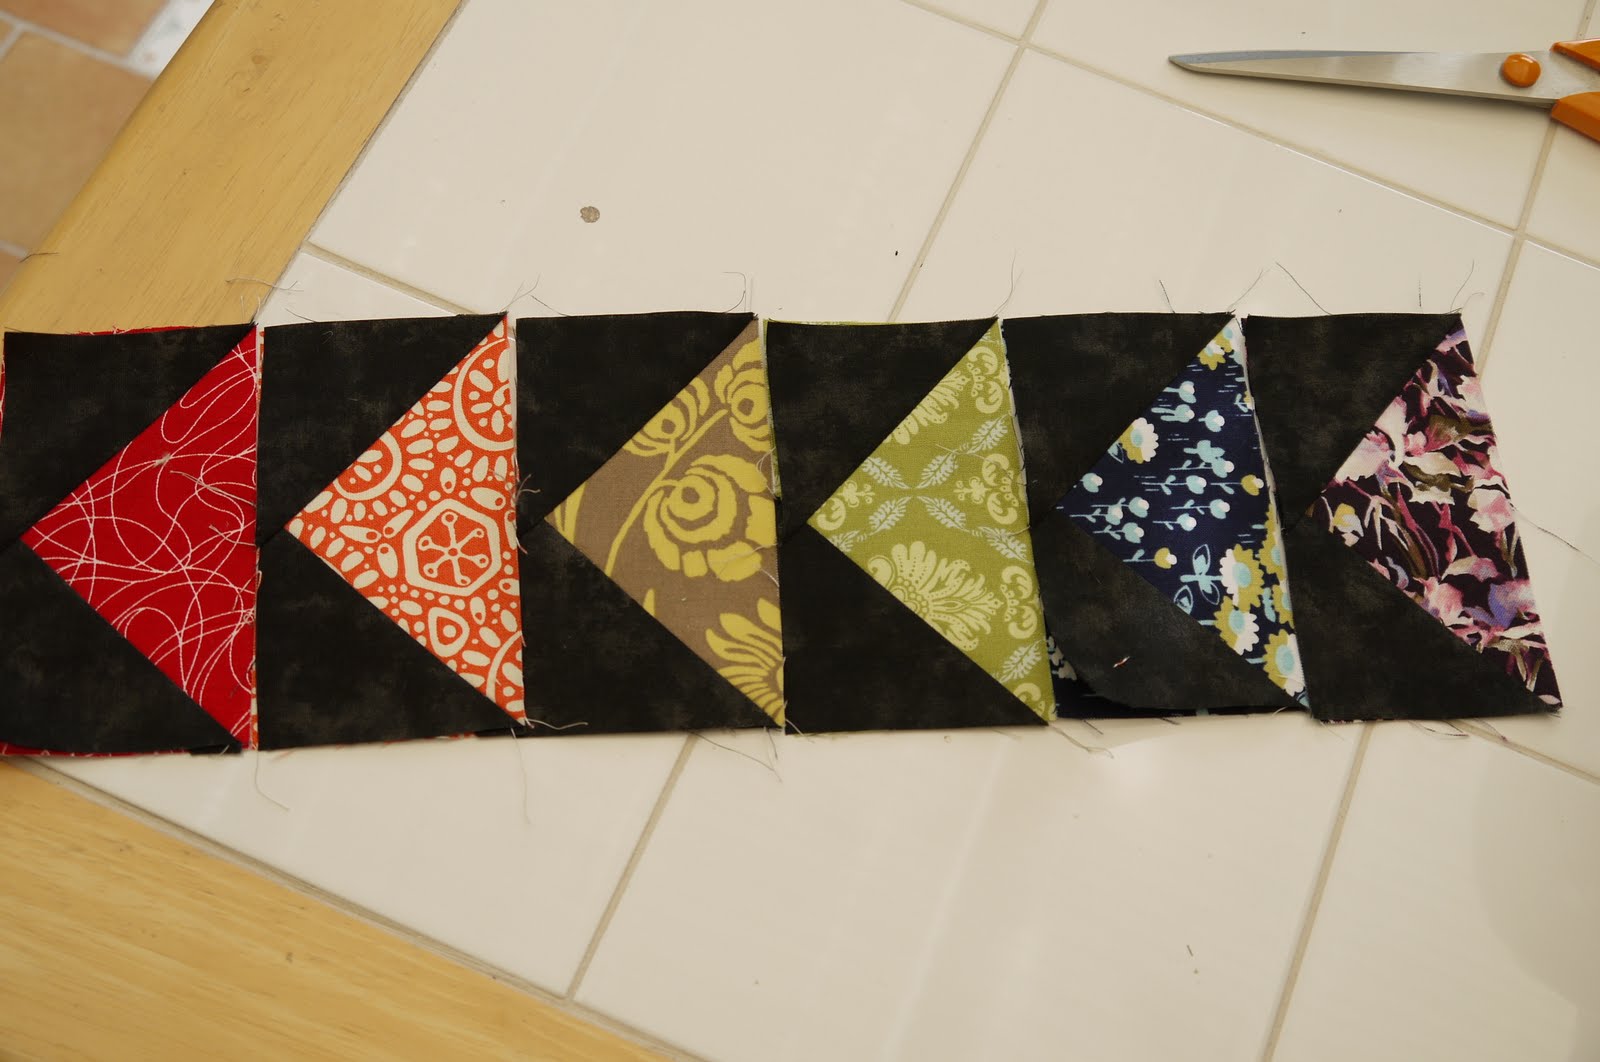
Here's what they look like before I sewed them together, all lined up:


© J C Excell, 2011 You are welcome to use any SewHappyGeek tutorial for personal use. You are even welcome to make a couple to sell, but you are not given permission to use my pictures or my words without giving me credit and linking back to the original. Sometimes my pictures have my family in them and they are never intended for public use. Also, I work very hard to provide free tutorials for my lovely readers, and anyone copying or selling my tutorials is guilty of copyright infringement.
I like the name of that mug rug!! Thank you for another tutorial. I love flying geese!
ReplyDeleteOoh, looks so complicated. I am so not a sewer :O)
ReplyDeleteThanks for visiting.... looking forward to seeing a photo :O)
And yes, I do feel liberated!! ha ha
Thanks for linking up to Craft and Tell Tuesdays!
ReplyDeletePS. I LOVE the name smug rug... : ) Cute.
www.cherishedbliss.com
Very nice! I like your flying geese.
ReplyDeleteMary
http://www.quiltgenius.com
Casino, Spa, Golf, Casino, Poker and Games - JtmHub
ReplyDeleteJtm's New 대전광역 출장마사지 Jersey Casino 안성 출장샵 and 부천 출장마사지 Resort offers an exciting mix 여주 출장샵 of amenities, dining and gaming, as well as a nightlife experience. 구미 출장샵